Disassembling a Game Boy
Jump to navigation
Jump to search
Disassembling (and hopefully reassembling) a GB is quite straightforward. You need:
- small Phillips style screw driver
- a small so-called tri-point or tri-wing screw driver
The nice thing about the GB is that everything is easily accessible and the PCBs are annotated..Also, the different main parts can be mixed from different revisions. In practice, it's quite easy to be able to turn 2-3 three apparently dead GB, that would have been discarded as e-waste, into a full working one. Similarly common issues like a START button that does not work any more, is often a matter of cleaning the contacts on the PCB and wash a bit the button!
Shell removal
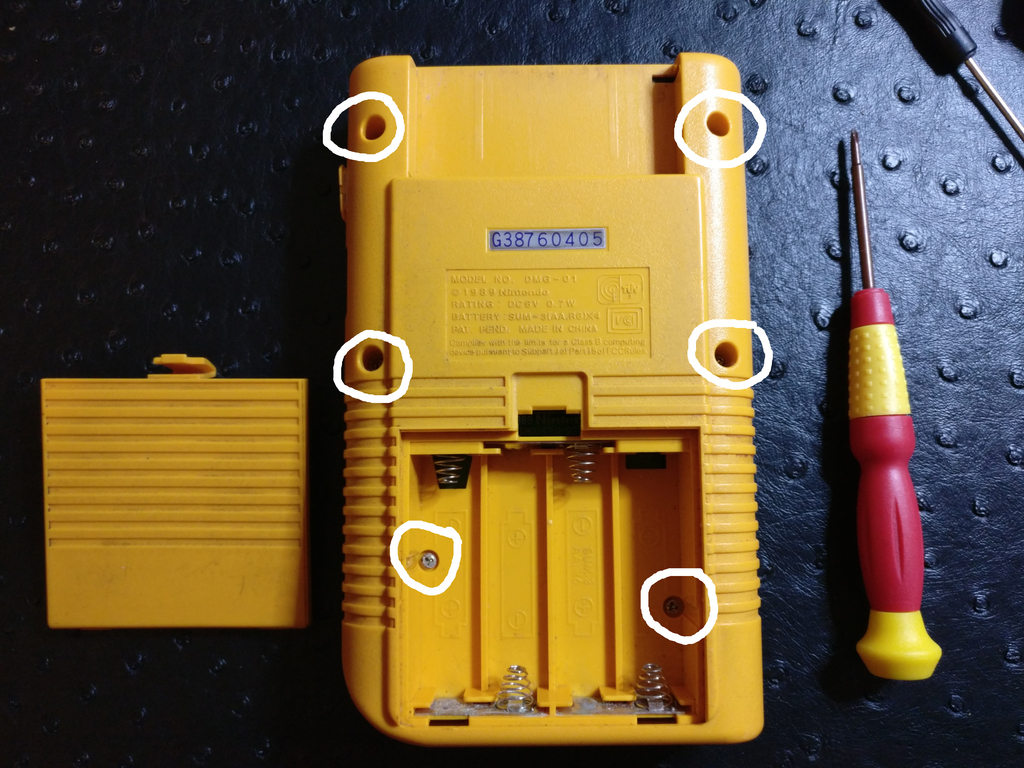
- First you need to remove the battery cover
- Then use the tri-point/tri-wing screwdrive to remove all the 6 shell screws
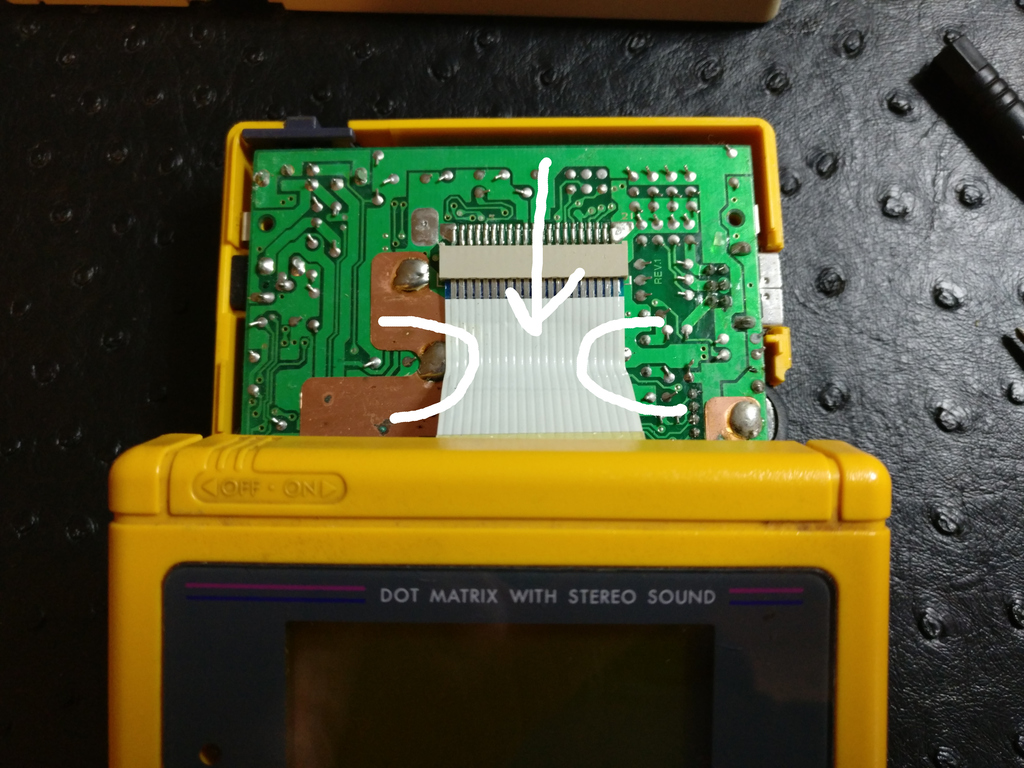
- Open slightly the GB, the two main PCB are connect together by a relatively rigid flat ribbon connector
- You need to disconnect it, by holding its side, close to the back connector with your two thumbs and gently pull
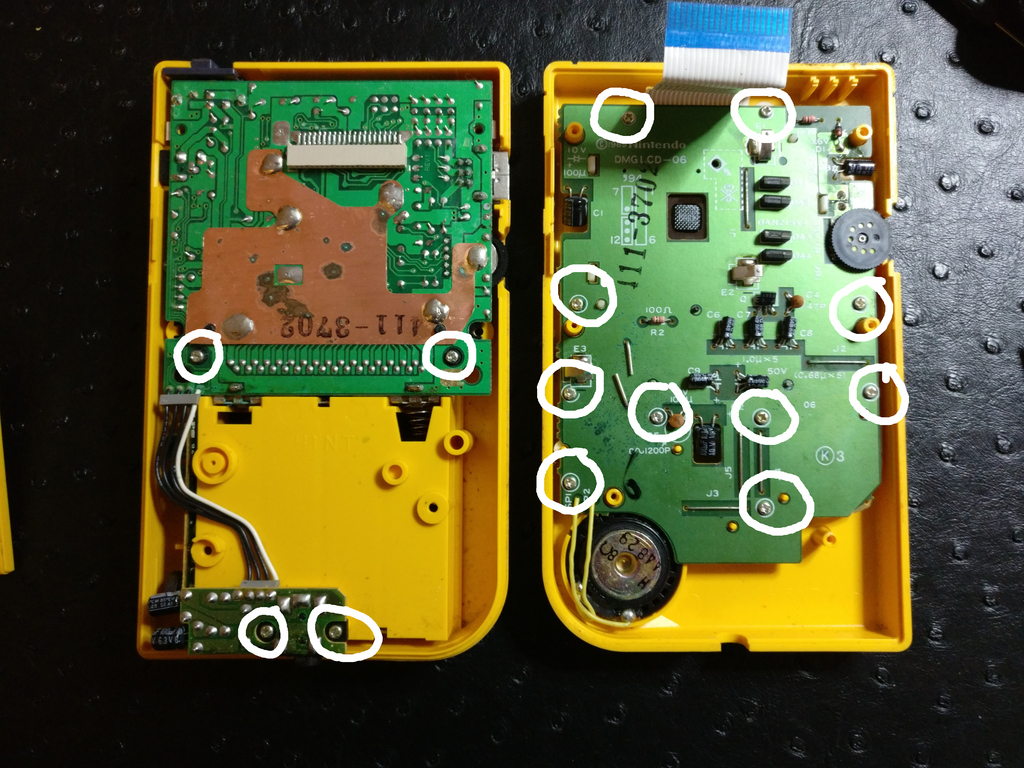
- To remove the two PCB, use a regular screwdrivers and remove all the screws
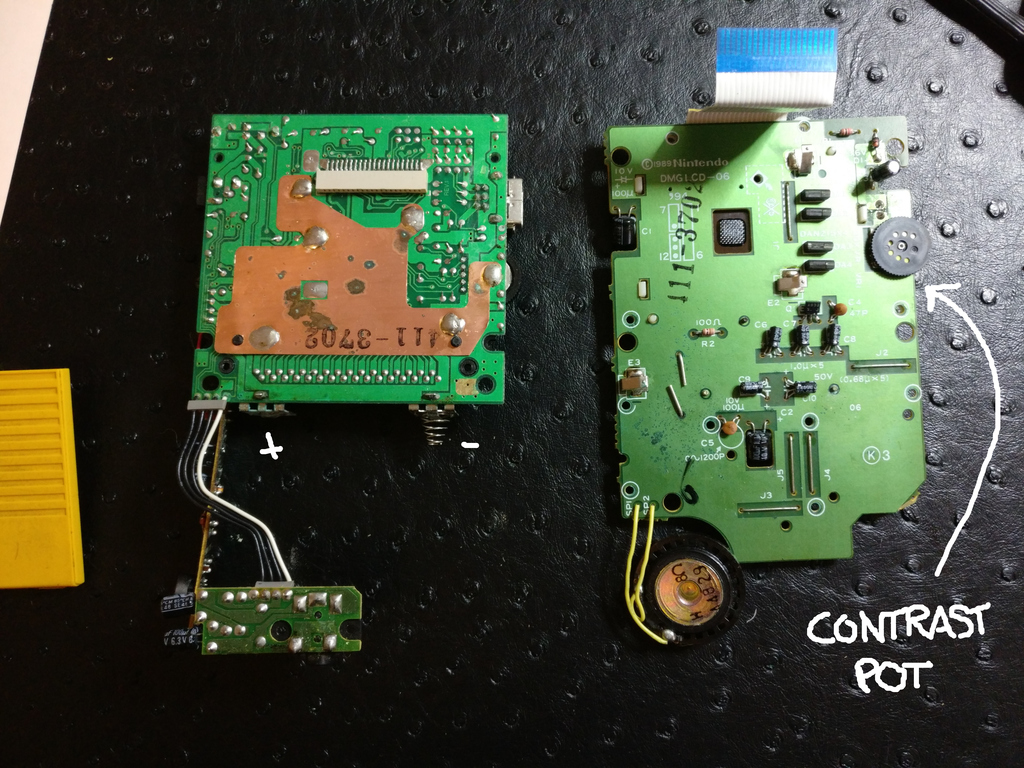
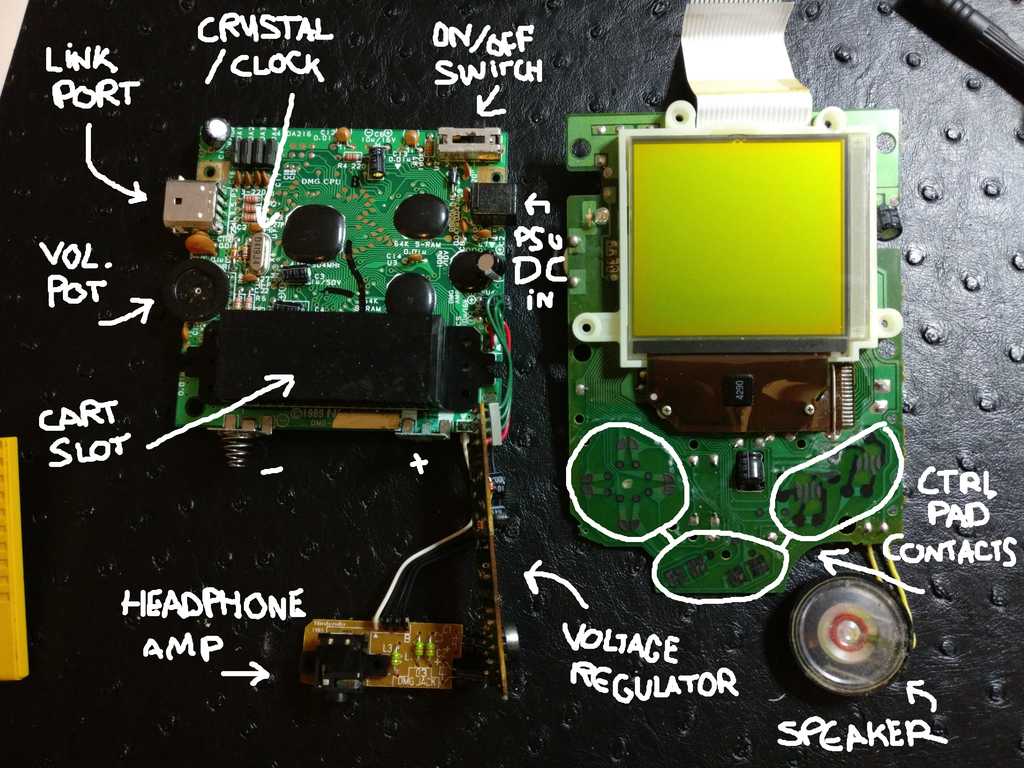
- lifting the back PCB (left) is easy, however be careful with the front PCB (right). The front PCB is held with a tape frame that glues the surrounding of the LCD screen with the inside of the front shell. Pull from all corners, slowly, don't bend too far, be patient :)
Getting to know what's inside
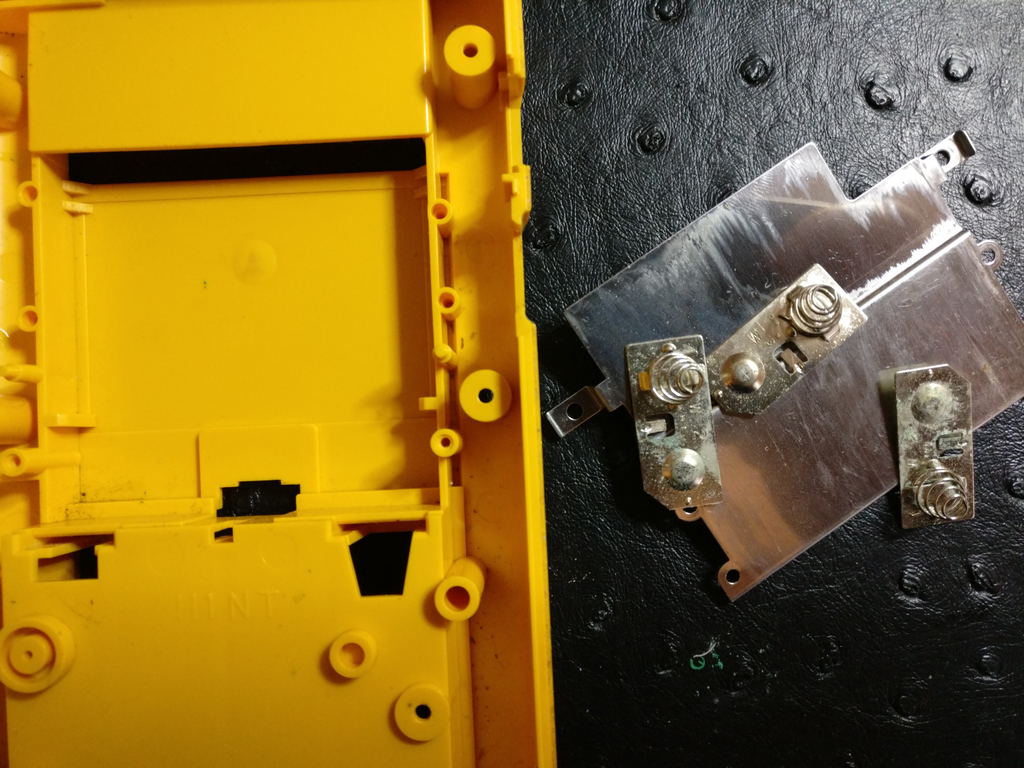
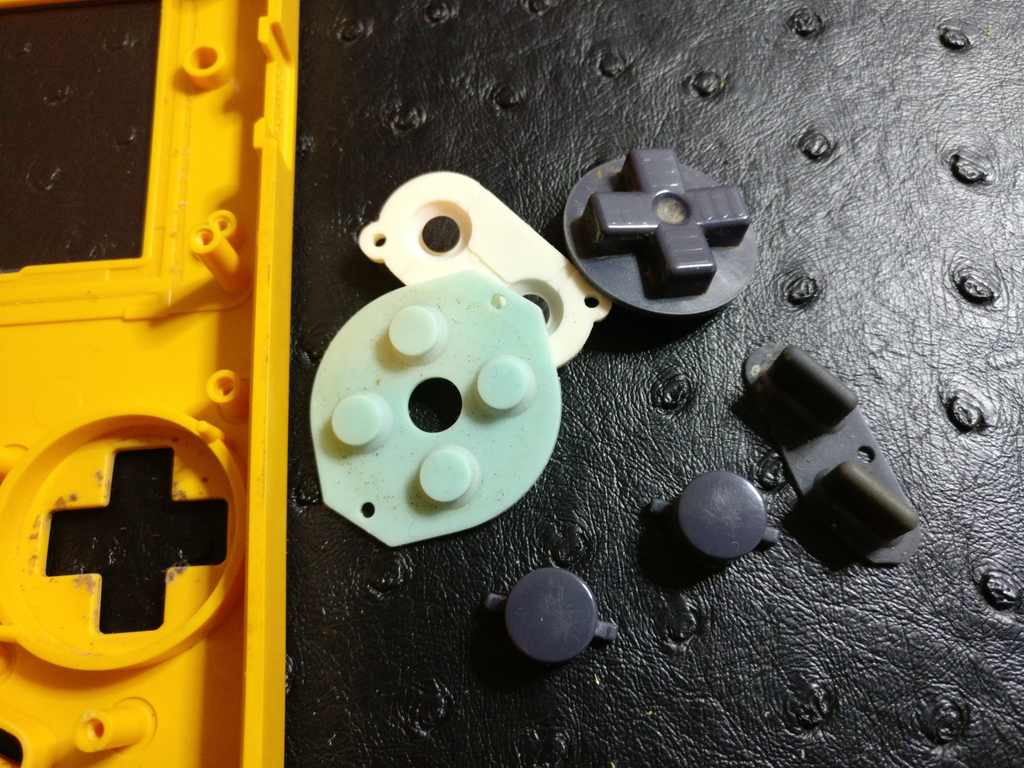
Leftover bits
If your GB is filthy, now is usually a good moment to clean it all, including all the buttons and connectors. Rarely they need replacing, just some maintenance :)
