Cleaning and Improving the Appearance of Old Equipment
On this page we share some tips on how to clean, and improve the appearance of old equipment. Very often it does not take much effort to get something back into a very good state, as opposed to buy third-party replacement parts. In the page we use a GB for many shots, but this apply for virtually any equipment in need of some care and maintenance. If you have more generic tips, please add them here!
Cleaning plastics
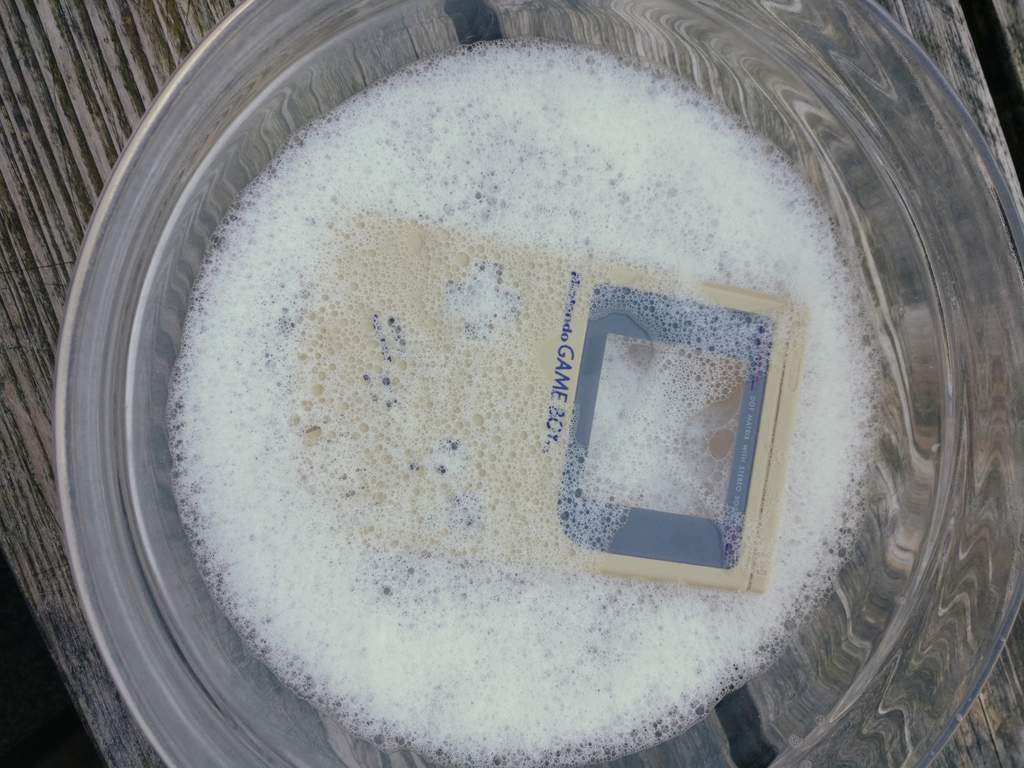
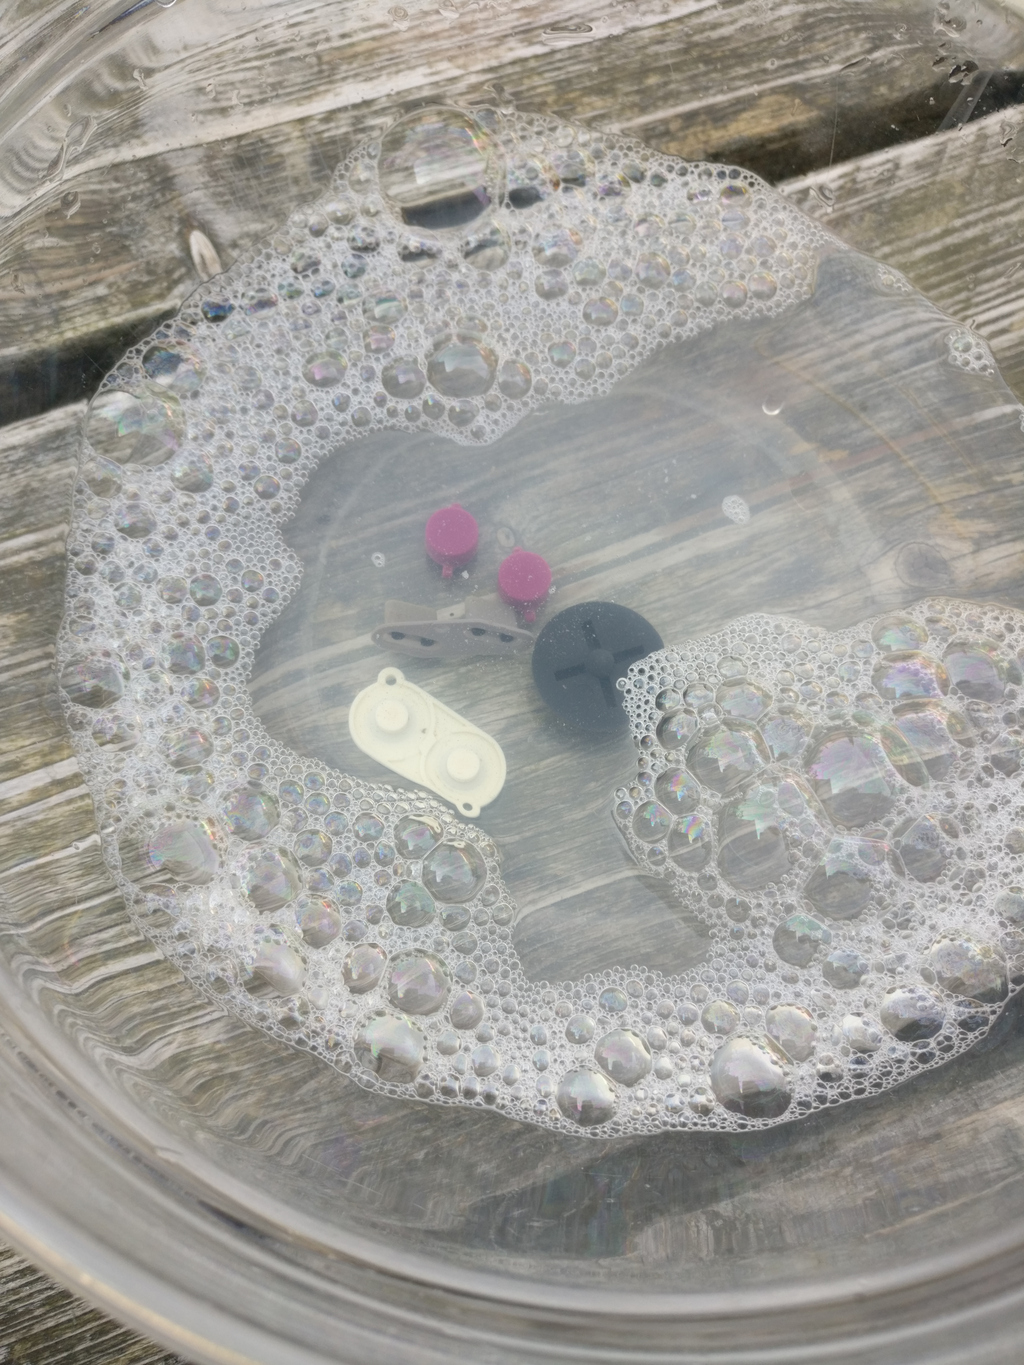
Just use plain soap. Don't try synthetic detergents or handwashing liquid soap, or magical solvent. Very often plastic will react badly. Just melt a chunk of soap bar in cold or barely lukewarm water, let it soak for a while and use a brush to clean. Finally rinse with cold water. One more time: we're really talking about classic soaps like the ones mixing vegetables oils with alkaline ashes or solutions, not the modern soaps filled with crapload of chemicals... but no soap :)
Cleaning PCBs and electronic components
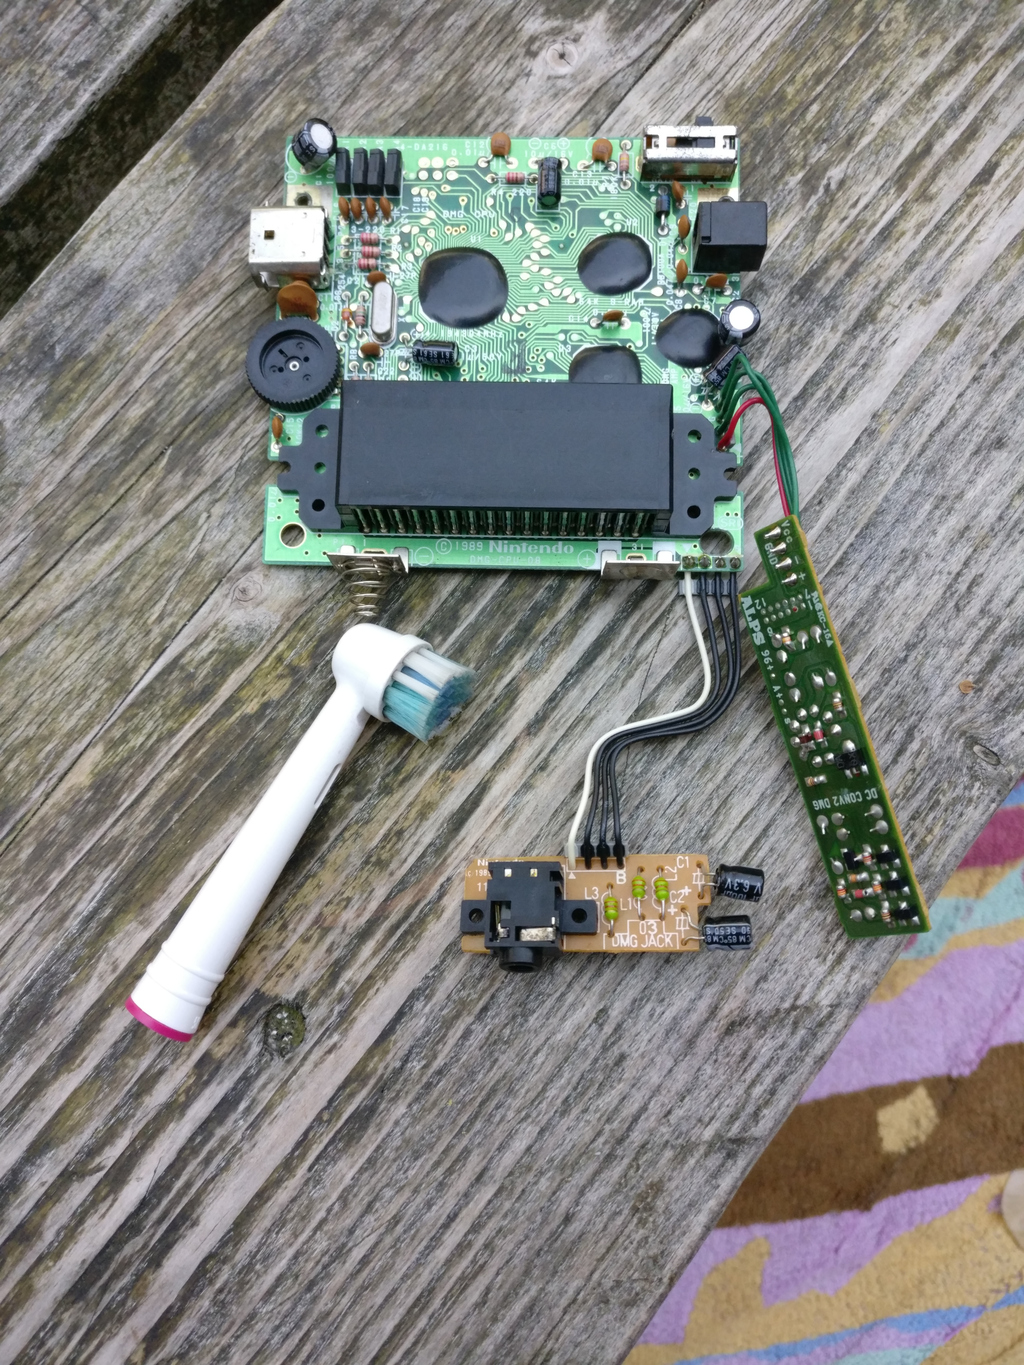
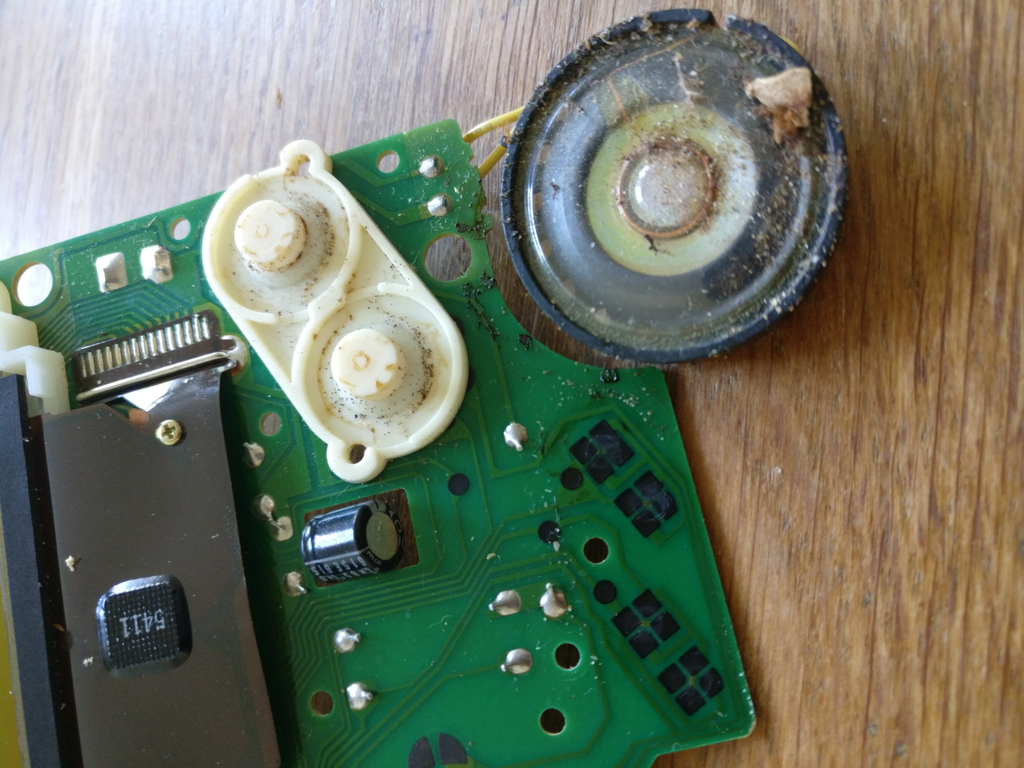
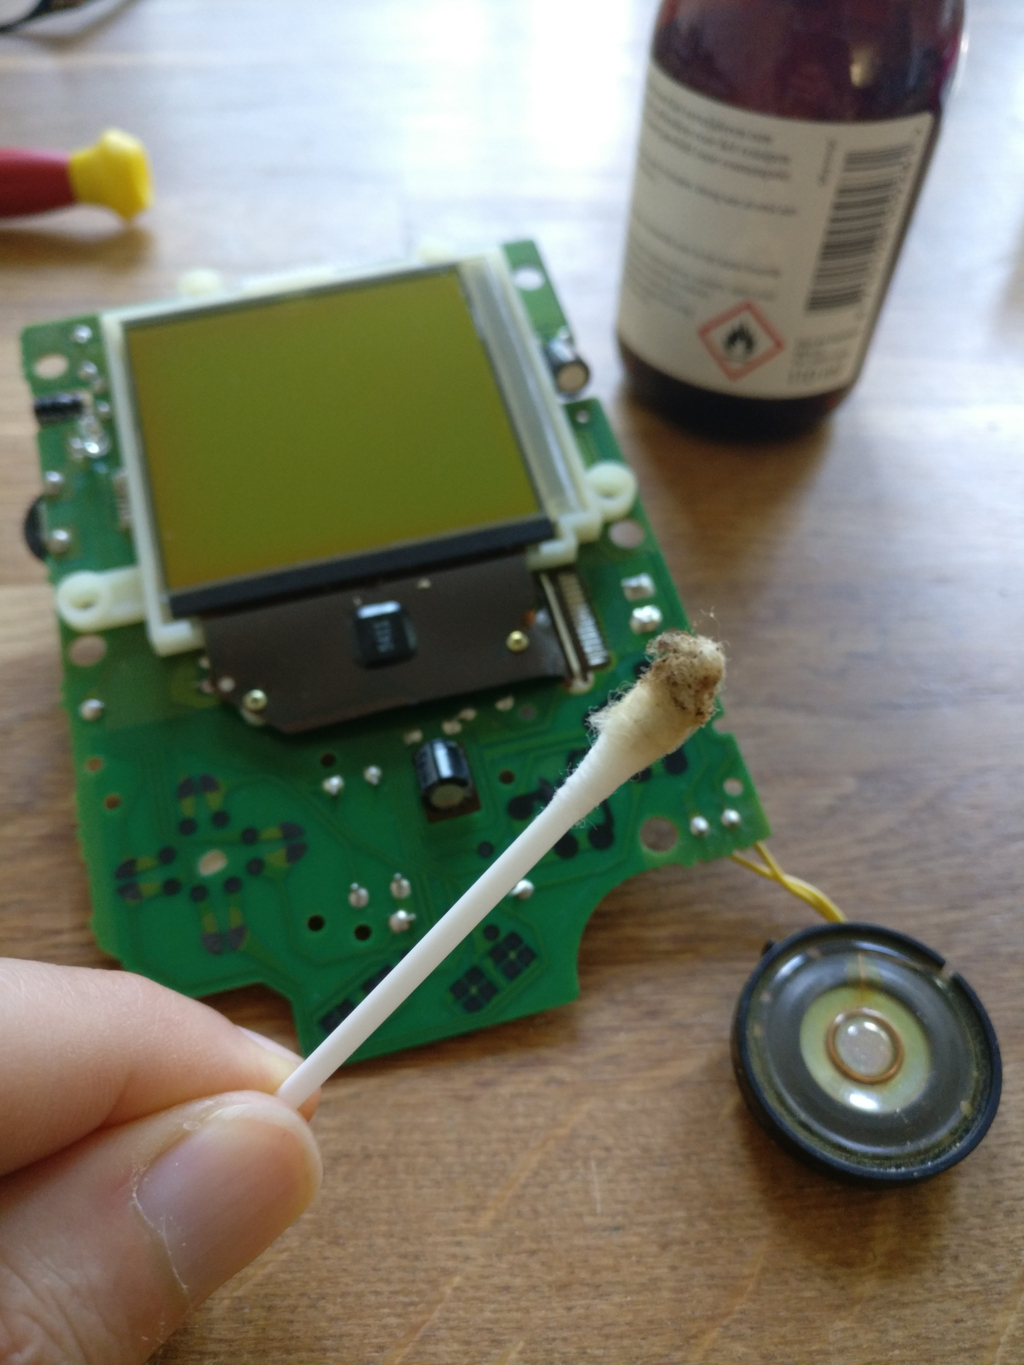
Essentially three tools:
- Most of the time using a small brush, like an old tooth brush, or paintbrush, is more than enough to remove dust.
- You can use a compressed air can duster, but in our experience for surfaces that are easily accessible, it does not make much difference. Keep that for really hard to access parts of the equipment. Limit waste production while trying to revive old equipments :)
- If needed use isopropyl alcohol with a cotton swab to remove dirt or to clean the connectors of a board. Careful though with alcohol, specially solutions with a very high percentage of alcohol, this can either damage components coating, or leave more residues as a chemical reaction by-product. On old PCBs where rosin is used as flux (sometimes generously, you can spot big yellow stains) this can be a problem to use alcohol in high concentration. With rosin being soluble in alcohol, this will make the rosin traces very sticky and even though this will eventually dry, you may in the process make things worse before they get better again!
Reversing the yellowing
Method 1: sun exposure
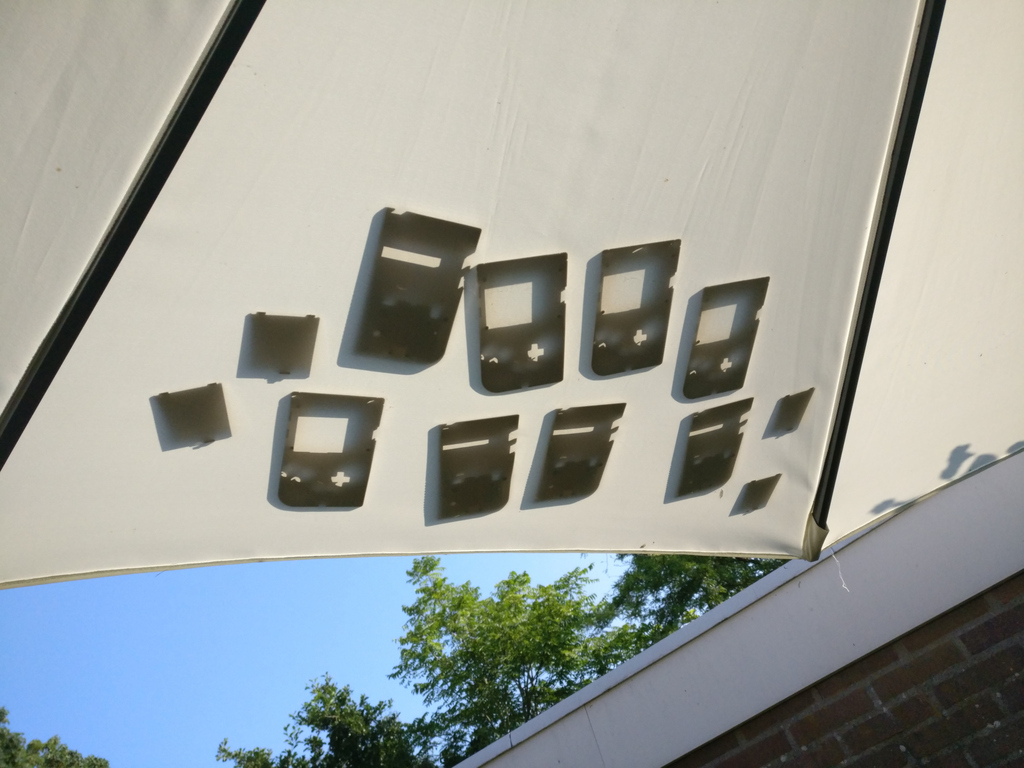
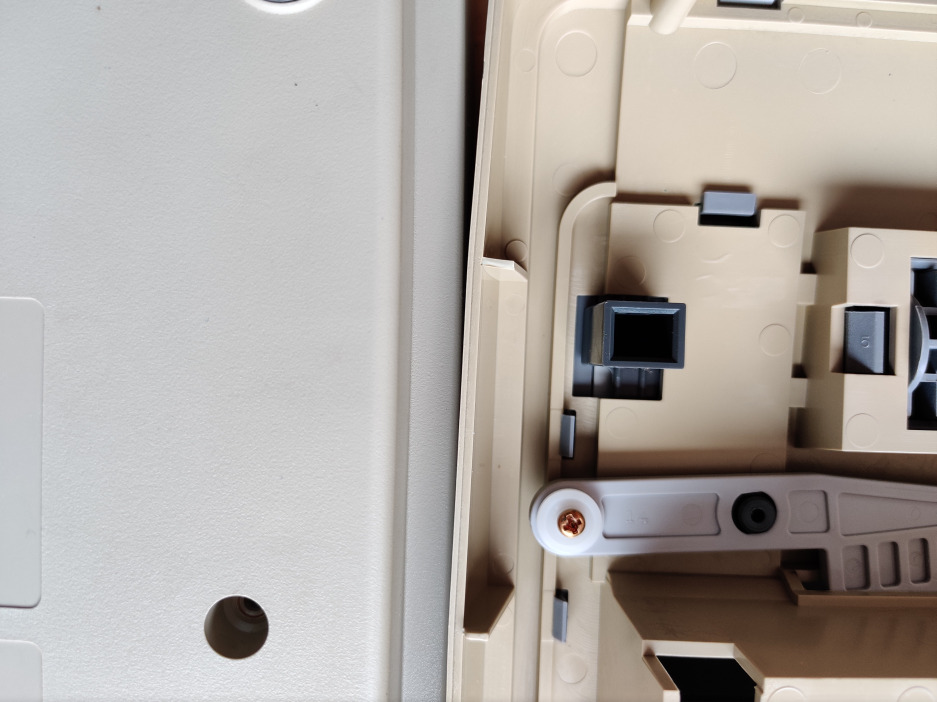
Aromatic thermoplastics are usually the kind of plastic used to form electronic equipment cases, shells, etc for 8/16 bit era computers. They are notorious for yellowing as they age. With that said it is not totally understood how they get yellow. In fact the "sun makes your stuff yellow" meme seems to be inaccurate. According to Retro Recipes, yellowing over the years is a combination of exposure of diffuse UV-A (indoors diffuse sunlight), fluorescent lights, and indoor warm air circulation. What is more, direct exposure to outdoor sunlight does not yellow plastics, it reverses the process (see Reversible post-exposure yellowing of weathered polymers). There are two downsides to using sun bright to reverses yellowing: it's very slow (some people will expose the material for weeks in some cases), and it may not reverse the effect completely on very yellowed material.
What about so-called Retr0bright? Retr0bright is essentially hydrogen peroxide (the rest of the formula can be ignored), and even though you can de-yellow with it in matter of hours, the process is somehow hazardous. First if not applied properly it will create stains. Second, hydrogen peroxide can damage the material, with some plastics responding very badly, loosing their original texture, getting a tint, etc. To be sure, even with enough precautions, there can be really bad surprises. Finally, with now a few years of people experimenting with Retr0bright, we have learned that the yellowing comes back very quickly in the shape of stains of different strength. This calls for more Retr0brighting, which leads to potentially further damage the material, etc.
Using direct sunlight has been so far a much safer process, with no know side-effect. For a discussion about this process, see this thread.
Method 2: hydrogen peroxide
If you decide to give hydrogen peroxide a go to reverse the yellowing (which may be the only option is the yellowing is severe), medical grade hydrogen peroxide would probably be most accessible. It is widely available in pharmacies, or even at your home. One downside of this is the medical version of H2O2 is not the cheapest version of them all, so just keep this in mind.
What you will need:
- One clear zip lock bag, big enough to put at least one half of the dmg-01 shell in.
- some amount of H2O2
- one sunny day!
What to do:
- Clean the shell thoroughly in soap and let dry, as described previously
- put the shell in the zip lock bag, and put H2O2 in.
- the amount of H2O2 needs to at least cover the plastic all around. This could also depends on how tightly you can squeeze and lock the bag, so experiment it a bit and see if you need more, or less, amount of H2O2.
- leave the bag out in direct sun light for several hours. If you have time, you can flip the bag over at regular intervals, like once an hour or so, to maximise the even UV exposure.
- then observe the effect and see if you would need more sun exposure.
From personal experience, zip lock bag works better with just one half of the dmg-01 shell in at the time. So if you want to do the whole shell, I would recommend using two bags. Plus, doing one half at the time allows for better comparison, before and after. Then you can decide if its worth carrying on, or how to tweak the process for the next round.
Polish clear plastics
If parts of your equipment has some clear plastics that's scratched (cuts or friction marks), it's sometimes possible to recover these parts. There exist several products that allow to repolish these, such as Novus (This is not a product placement, it just happens that we tested this one, please suggest more options). However, they do not work always equally depending on the type of plastic. For instance a product like the one mentioned here will do wonder on hard plastic CD shells, but will be less impressive on softer plastics like for instance the protective screen cover of a Game Boy (to be precise it will leave a slight haze due to micro scratches left during manual polish, however given how close this plastic is to the screen, the impact may be not very significant depending on usage).
The bottom line
Once again, the point is not that's easy or possible to have something look entirely as new, but find the balance between aesthetics and usability, which is important to consider once you factor in the environmental cost of systematically replacing slightly aged/damaged plastic with... more plastic :(