FuriaEC020 firmware update
AKA How to install 18GB of crap just to flash 124K.
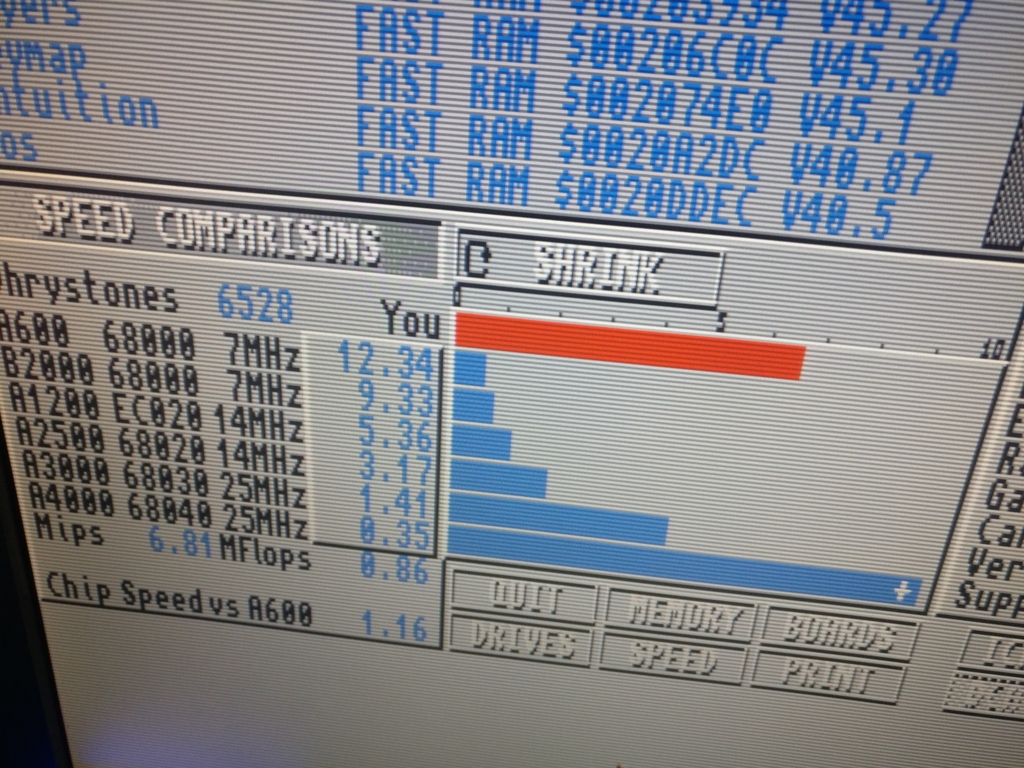
The FuriaEC020 is an accelerator card for the Amiga 600. It turns the factory 7Mhz Motorola MC68000 into a 33-40Mhz (depends on model) Motorola MC68ec020 + FPU Motorola MC68882 + 9.5M fast RAM. It will make the A600 more than 10 times faster than a regular A600. The FuriaEC020 receives firmware updates for its CPLD. For some models, it is necessary to upgrade the firmware for the Furia to work with the recent 2018 3.1.4 Kickstart ROM.
The developer is somehow discouraging Furia owners to do the upgrade themselves ("If You are not familiar with following terms: CPLD, JTAG, IMPACT - please, do not do it nor do not ask me HOW TO DO IT. Only matter I can help is choosing right firmware" source: the minimal instructions for upgrade), they will however gladly upgrade the Furia if it is sent to them for a very minimal fee.
It is understandable that the instructions are minimal and such a disclaimer is written, given how tedious the process is. If you're curious though, here is how to do it on GNU/Linux (Debian to be precise). Do it at your own risk :)
Software and hardware installation
Xilink ISE WebPACK installation
- Download the 14.7 version of the Xilinx ISE WebPACK (in the ISE archive). To download you need to create an account and jump through a few hoops. No real workaround to this, because the account will also be used later to generate a license file.
- untar the package
tar xvf Xilinx_ISE_DS_Lin_14.7_1015_1.tar
- start the setup
cd Xilinx_ISE_DS_Lin_14.7_1015_1
./xsetup
- Choose ISE WebPACK and leave the defaults, proceed, if you did not change the path, it will install in
/opt/Xilinx/14.7/ISE_DS - remove old libs that will prevent the licensing process to work, let the software uses the ones from your distro
cd /opt/Xilinx/14.7/ISE_DS/common/lib/lin64/
rm libstdc++.so
rm libstdc++.so.6
rm libstdc++.so.6.0.8
Acquire the free license
- open a terminal, if Bash is not your shell, first start running it, because they have a non-POSIX shell script that we need to source
bash
.  /opt/Xilinx/14.7/ISE_DS/settings64.sh
ise
- Once running (for the first time) you will be prompted with an error about the license not being found, then followed with a license manager window. Choose Get Free Vivado/ISE WebPACK License (your hostname and mac address will be used/sent). Once you click on Connect, this will open your browser to your already created account. Follow the steps and request an ISE WebPACK License, you will be sent an email with a
Xilinx.liclicense file. In the tab Manage Licenses you will be able to load the file. Close, restartiseand the license error should be gone.
USB drivers for the Platform Cable USB II
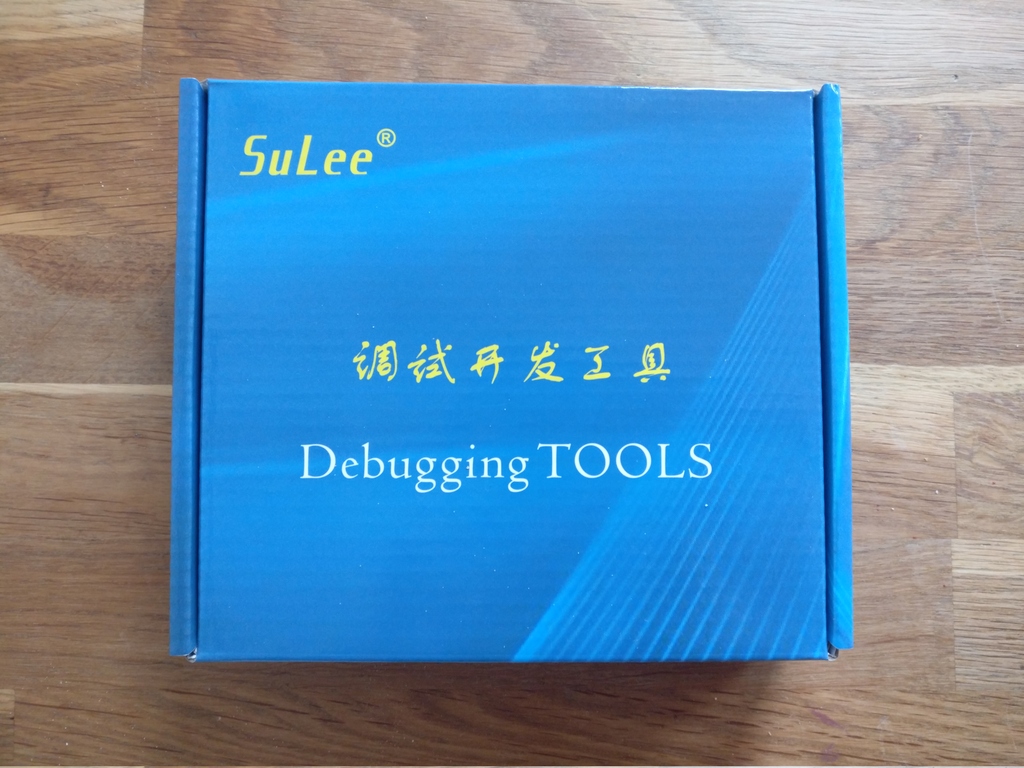
To program the CPLD in the Furia you need a Xilinx Platform Cable USB II. They cost €230,-. However on the usual places you can find clones for €25,- and they will work as fine as the original for this job. Luckily the third-party GNU/Linux drivers for the official Xilinx device, will also work with the clones and make sure the software can't see the difference.
If you plug the Platform Cable USB II clone, it won't be recognised at all:
usb 3-5: new high-speed USB device number 9 using ehci-pci
usb 3-5: New USB device found, idVendor=03fd, idProduct=0013, bcdDevice= 0.00
usb 3-5: New USB device strings: Mfr=0, Product=0, SerialNumber=0
For the device to be working with ISE, it needs a third-party driver developed by Michael Gernoth:
git clone git://git.zerfleddert.de/usb-driver
cd usb-driver
make
./setup_pcusb /opt/Xilinx/14.7/ISE_DS/ISE # change path if using different setup
If everything went well, when you plug the device it should be recognized as such:
usb 3-5: new high-speed USB device number 16 using ehci-pci
usb 3-5: New USB device found, idVendor=03fd, idProduct=0008, bcdDevice= 0.00
usb 3-5: New USB device strings: Mfr=1, Product=2, SerialNumber=0
usb 3-5: Product: XILINX
usb 3-5: Manufacturer: XILINX
If that's not the case, check the README file for some extra hints, notably udev and fxload related instructions.
Plugging it all
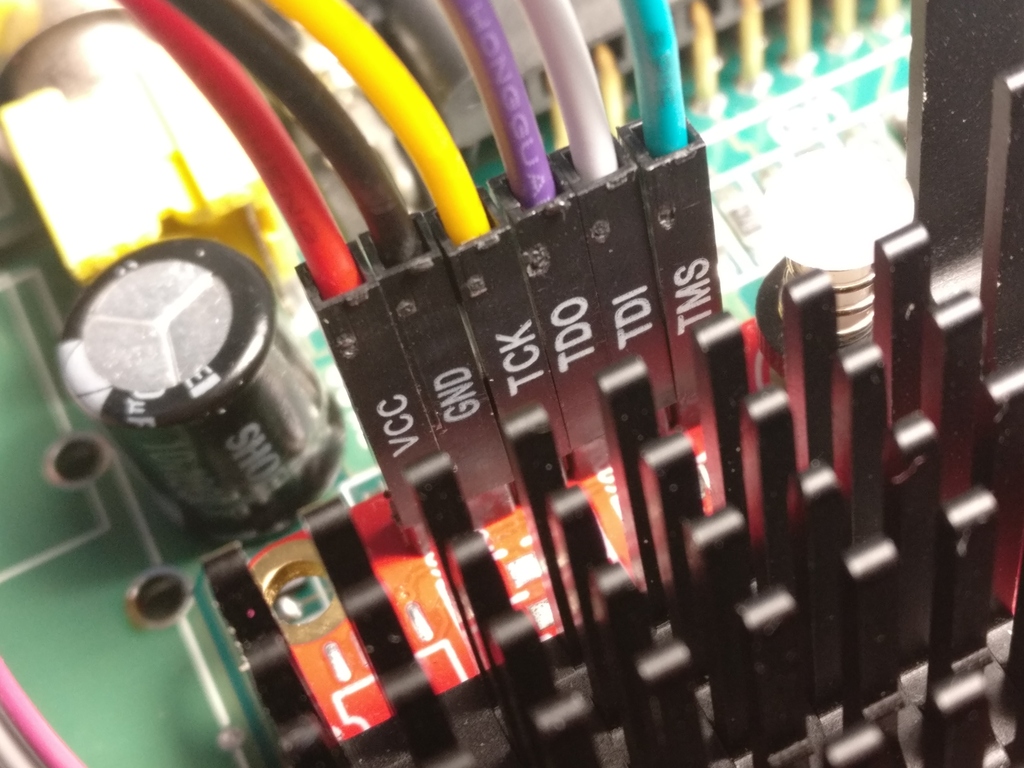
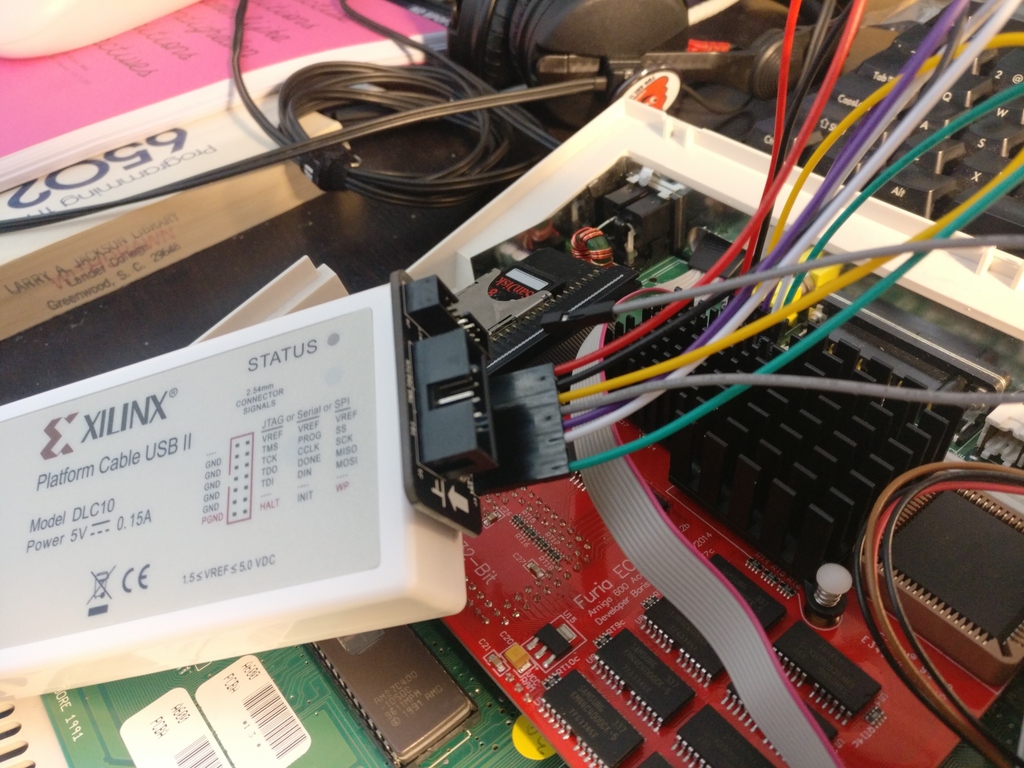
Plug the Platform Cable USB II clone as such
Furia firmware upgrade
- Turn on Amiga
- Plug USB cable of Platform in computer
- start impact
bash # if you don't use bash already...
. /opt/Xilinx/14.7/ISE_DS/settings64.sh
export LD_PRELOAD=/path/to/the/usb-driver/git/repos/libusb-driver.so
impact
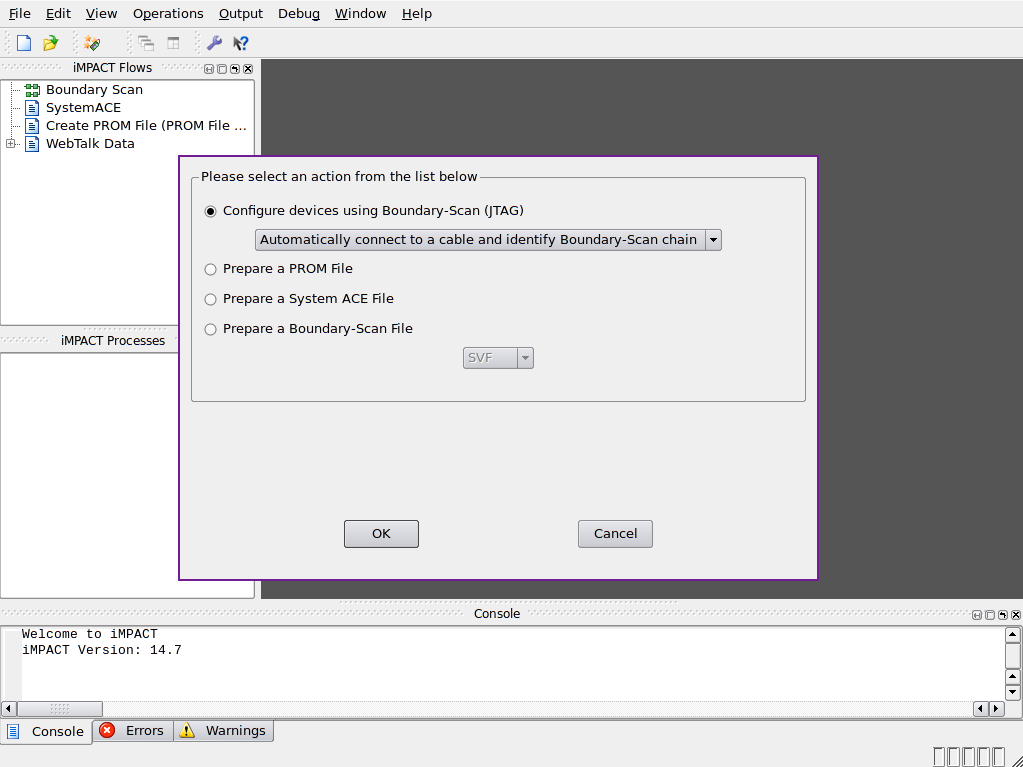
- Say No/Cancel to any popup that may appear, once it's clear, go to
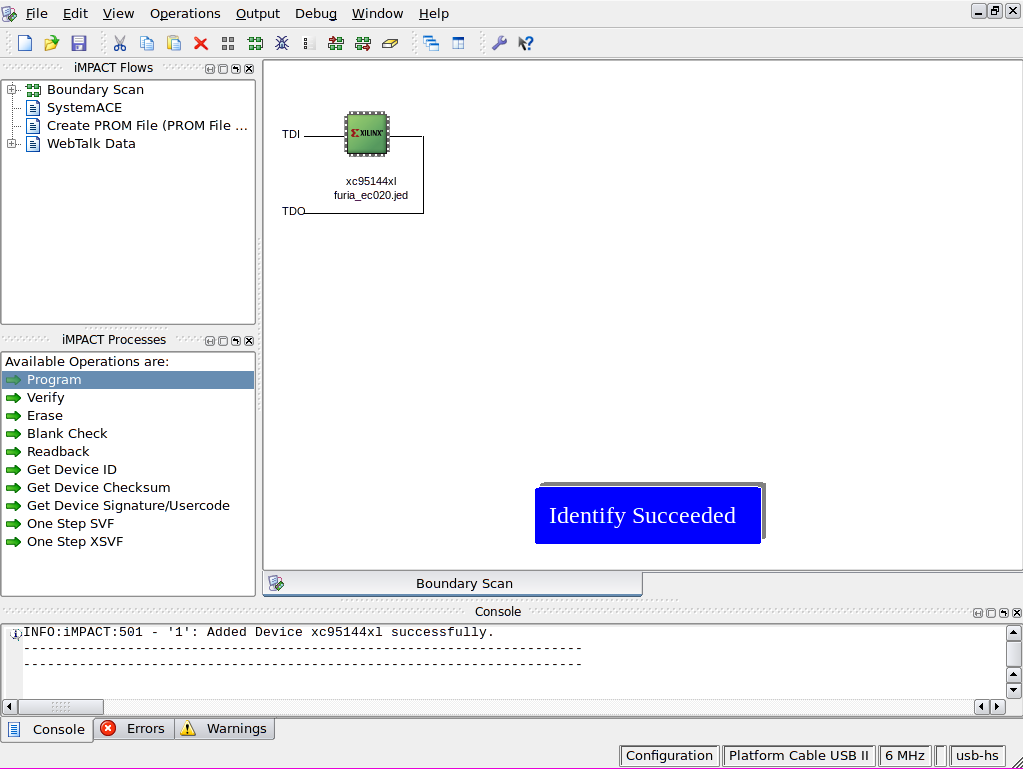
Edit/Launch Wizard, and let it automagically configure the Platform Cable USB II. If it does not find the device, quitimpact, unplug the USB cable from the Platform Cable USB II, try again. It's very fiddly. Sometimes it works, sometimes it doesn't...
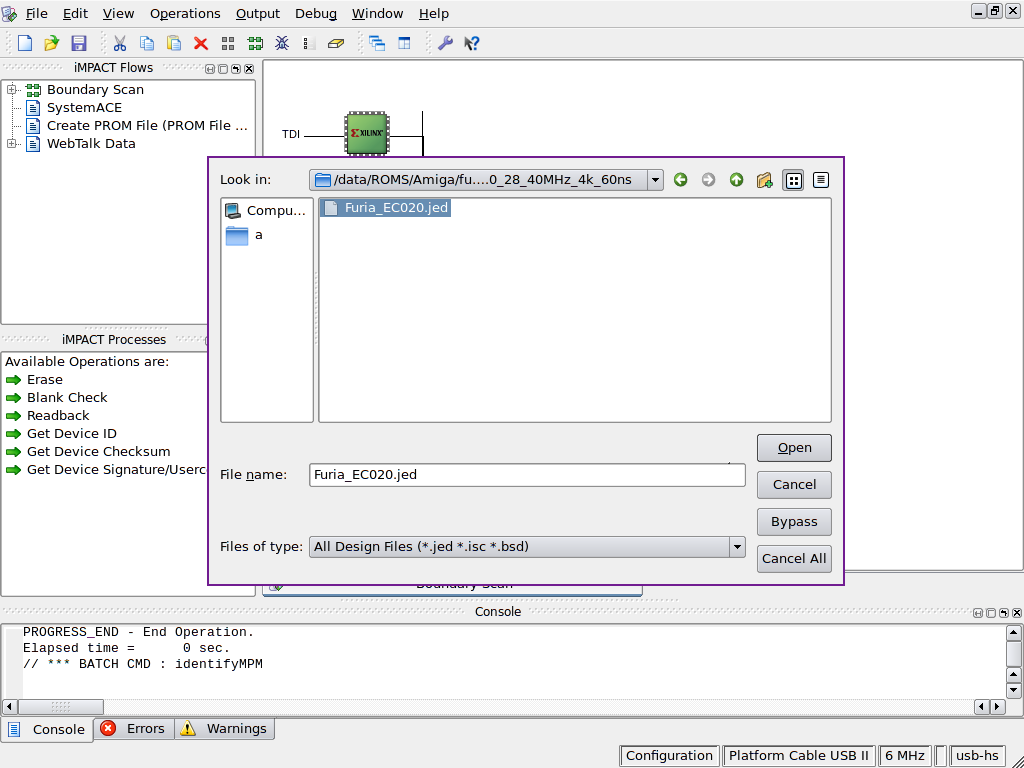
- If it succeeds you will be asked "Do you want to assign config files", say
YESand point to right.jedfile for your Furia. Refer to theReadme.txtfrom Boris Krizma (the Furia hardware dev) to know which one you should use. Below is an example forFuria_EC020_Rev13.0, make sure you check this file if you use another firmware version. If needed ask the developer which one is for your board.
Furia_EC020_Rev13.0_28_40MHz_4k_50ns - 2 Chip / PCB Rev3
Furia_EC020_Rev13.0_28_40MHz_4k_60ns - 8 Chip / PCB Rev2.x
Furia_EC020_Rev13.0.1_28_40MHz_2k_50ns - 2 Chip / future?
Furia_EC020_Rev13.0.1_28_40MHz_2k_60ns - 8 Chip / OKI
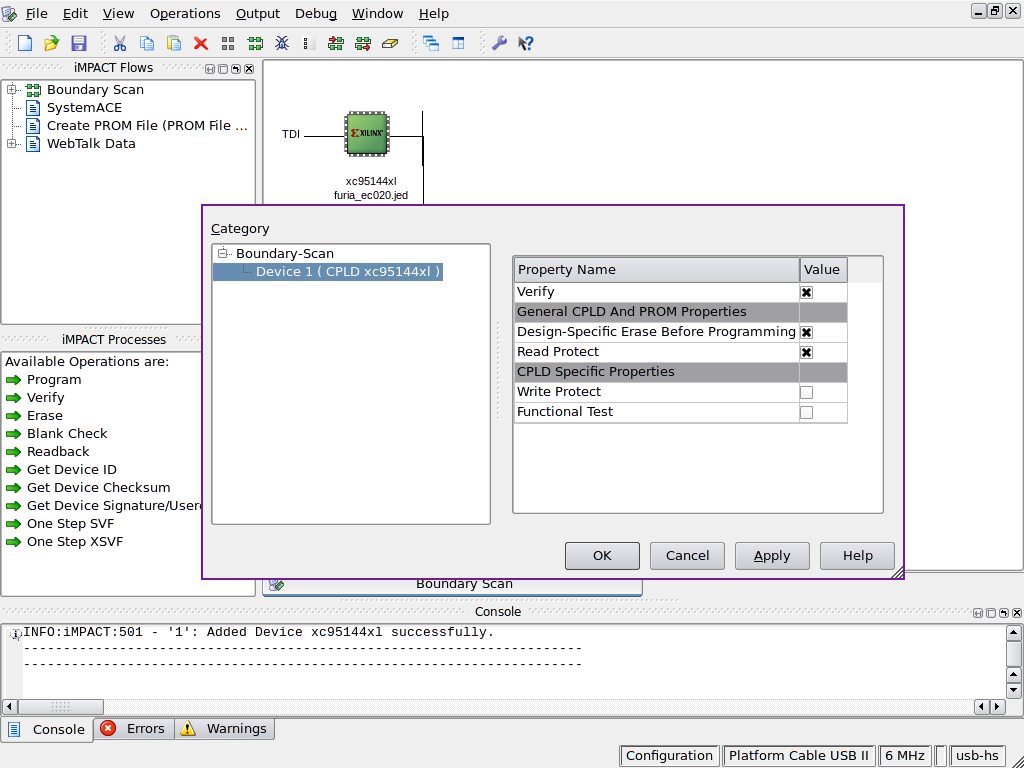
- Once the file loaded, you will be prompted with the programming properties of the device, use the following settings:
- Double-click on
Program
- if all goes well, you'll see this in the console:
INFO:iMPACT - Current time: 07/03/2021 13:35
// *** BATCH CMD : Program -p 1 -e -v -r
PROGRESS_START - Starting Operation.
Maximum TCK operating frequency for this device chain: 10000000.
Validating chain...
Boundary-scan chain validated successfully.
'1': Erasing device...
'1': Erasure completed successfully.
'1': Programming device...
done.
'1': Putting device in ISP mode...done.
'1': Putting device in ISP mode...done.
'1': Verifying device...done.
'1': Verification completed successfully.
'1': Putting device in ISP mode...done.
'1': Setting Read-Protect bits.
'1': Programming completed successfully.
PROGRESS_END - End Operation.
Elapsed time =      4 sec.
- Congratulations, the Furia has a new firmware, turn off the Amiga, wait 30 seconds, plug it all back, you're good to go :)
References
- the official ultra minimal instructions https://lotharek.pl/productdetail.php?id=105
- someone struggling (but eventually succeeding) to flash the Furia on Windows https://vid.mint.lgbt/watch?v=lcJLblNTG_w
- The ArchWiki entry for the Xilinx ISE WebPACK may contain some workaround/tips useful for your distro https://wiki.archlinux.org/index.php/Xilinx_ISE_WebPACK
